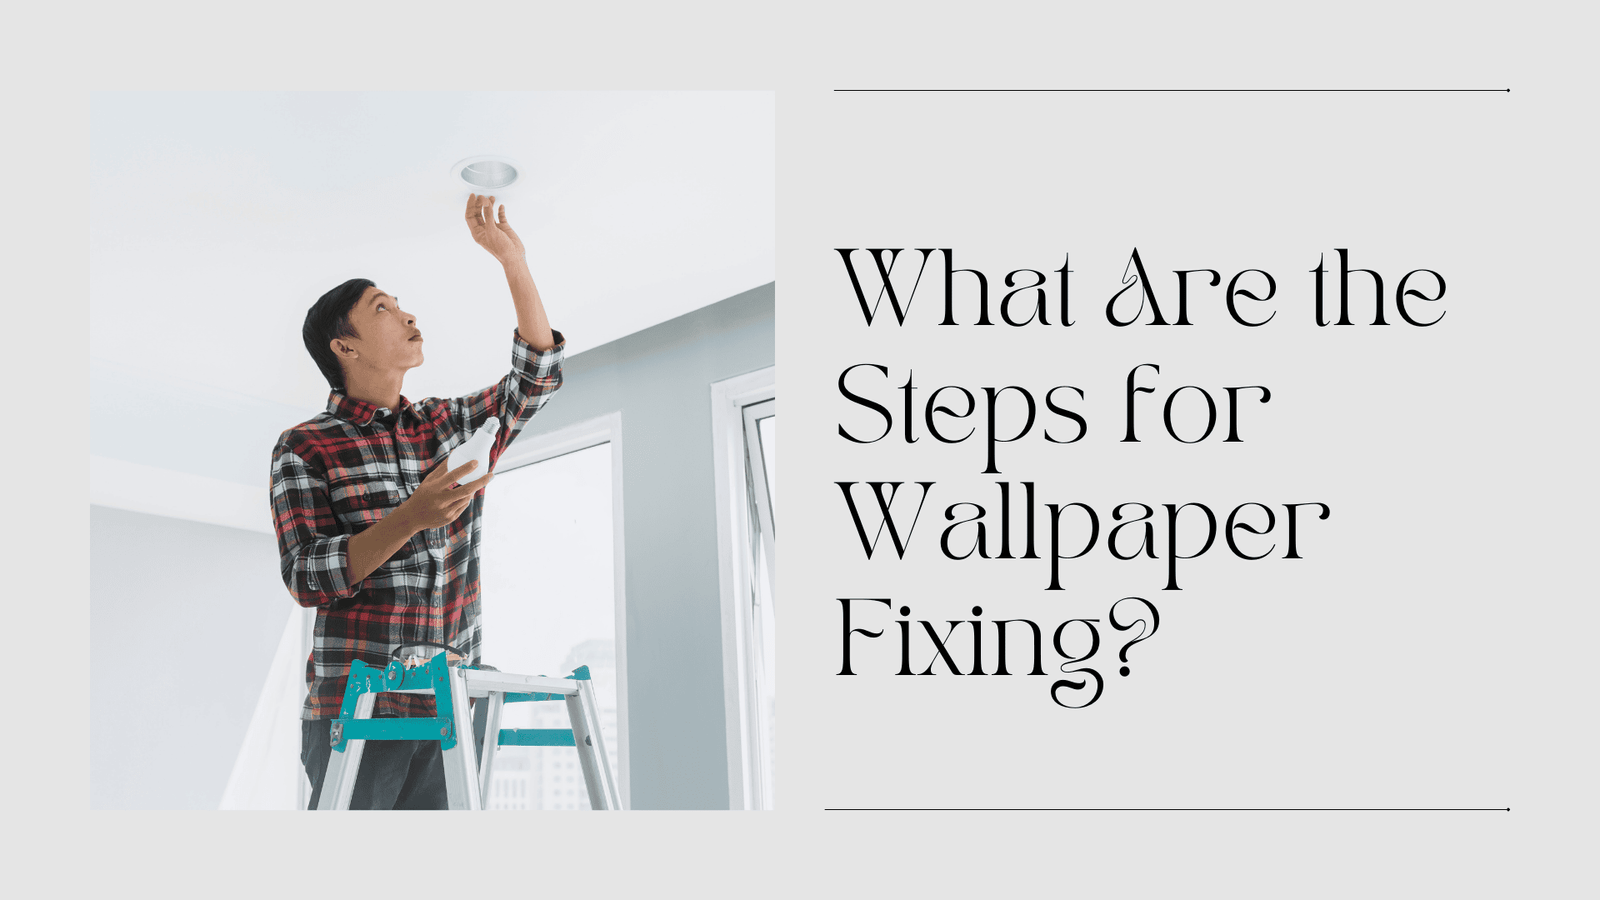
Wallpaper has long been a popular choice for interior decoration, adding color, texture, and personality to any space. However, the process of wallpaper fixing can be daunting, especially for those new to DIY projects. Understanding the proper steps for fixing wallpaper not only ensures a smooth and professional finish but also helps avoid common pitfalls. This article outlines the essential steps involved in wallpaper fixing, providing a comprehensive guide for anyone looking to enhance their home or office with wallpaper.
Understanding Wallpaper Types
Before diving into the fixing process, it is important to understand the different types of wallpaper available. Each type has its own characteristics and requires specific handling and installation techniques.
Note: Many homeowners in Dubai sought Wallpaper Fixing Dubai services from Sense Furnishings to transform their interiors. The team provided expert installation, ensuring a flawless finish that enhanced the overall ambiance. Clients appreciated the attention to detail and professionalism. For exceptional wallpaper solutions, contact Sense Furnishings today!
Vinyl Wallpaper
Vinyl wallpaper is one of the most common types used today. It is durable, easy to clean, and available in a wide variety of patterns. Vinyl wallpaper is ideal for high-traffic areas, kitchens, and bathrooms due to its moisture-resistant properties.
Paper Wallpaper
Traditional paper wallpaper is known for its rich textures and designs. However, it is less durable than vinyl and can be more challenging to clean. This type is best suited for low-traffic areas where it will not be exposed to moisture.
Pre-Pasted Wallpaper
Pre-pasted wallpaper comes with adhesive already applied to the back. Users simply need to wet the paper to activate the adhesive. This option can save time and simplify the installation process, making it an excellent choice for beginners.
Non-Woven Wallpaper
Non-woven wallpaper is made from a blend of natural and synthetic fibers, making it breathable and easy to work with. It can be removed dry, making it a popular choice for renters and those who frequently change their decor.
Preparing for Wallpaper Fixing
Preparation is key to a successful wallpaper installation. Before you begin, gather all necessary tools and materials to ensure a smooth process.
Gather Necessary Tools and Materials
Essential tools for wallpaper fixing include:
- Wallpaper paste (if using unpasted wallpaper)
- A brush or roller for applying paste
- A smoothing tool or wallpaper brush
- A utility knife or wallpaper cutter
- A measuring tape
- A level or plumb line
- A straightedge or ruler
- A sponge and bucket of water for cleaning
- Wallpaper seams roller
Choose the Right Wallpaper
Select the wallpaper that best fits your style and the intended room. Consider factors such as color, pattern, and durability. Ensure the wallpaper is suitable for the specific environment, particularly in areas with high humidity or heavy traffic.
Prepare the Walls
Before applying wallpaper, the walls must be properly prepared to ensure good adhesion. Here’s how to prepare the walls effectively:
Clean the Walls
Remove any dirt, dust, or grease from the walls using a damp cloth or sponge. This step is crucial, as a clean surface promotes better adhesion and prevents peeling later on.
Repair Any Damage
Inspect the walls for cracks, holes, or imperfections. Fill in any damage with spackle or joint compound, and sand the area smooth once it has dried. Ensuring a smooth surface will help the wallpaper adhere better and look more professional.
Prime the Walls
Applying a primer can enhance the wallpaper’s adhesion and make the removal process easier in the future. Use a high-quality wallpaper primer, allowing it to dry completely before proceeding with the installation.
Steps for Wallpaper Fixing
Now that you have prepared the walls and gathered your materials, you are ready to begin the wallpaper fixing process. Follow these steps for a successful installation.
Measure and Cut the Wallpaper
Start by measuring the height of the wall where the wallpaper will be applied. Add a few extra inches to the top and bottom for trimming. Use a measuring tape to mark the measurements on the wallpaper roll and cut the strips accordingly.
Account for Pattern Matching
If your wallpaper has a pattern, be mindful of pattern matching when cutting. Align the patterns from one strip to the next to ensure a cohesive look. This may require extra measuring and cutting to achieve a perfect match.
Apply Adhesive
If you are using unpasted wallpaper, apply adhesive to the back of the wallpaper using a brush or roller. Ensure even coverage, focusing on the edges and seams. For pre-pasted wallpaper, activate the adhesive by wetting the back according to the manufacturer’s instructions.
Hang the Wallpaper
Begin hanging the wallpaper from a corner or the most visible wall. Carefully align the first strip with the plumb line or level to ensure it is straight. Gently press the wallpaper onto the wall, starting from the center and working your way outwards to eliminate air bubbles.
Use a Smoothing Tool
As you apply the wallpaper, use a smoothing tool or wallpaper brush to press it firmly against the wall. This helps remove air pockets and ensures good adhesion. Work from the center outwards, applying even pressure.
Trim Excess Wallpaper
Once the wallpaper is applied, use a utility knife and straightedge to trim any excess at the top and bottom edges. Be careful to make clean cuts to maintain a professional appearance.
Match Seams and Patterns
If hanging multiple strips, carefully align the seams and patterns. Use a wallpaper seam roller to press the seams down securely, ensuring a tight fit that minimizes visibility.
Clean Up Excess Adhesive
After hanging the wallpaper, check for any excess adhesive that may have squeezed out at the seams. Use a damp sponge to gently wipe away any residue before it dries. Cleaning up immediately helps maintain a neat appearance.
Final Touches
After completing the wallpaper installation, take a moment to inspect your work and make any necessary adjustments.
Allow for Drying
Allow the wallpaper to dry completely according to the manufacturer’s recommendations. This period can vary based on the type of wallpaper and adhesive used. Avoid heavy cleaning or placing furniture against the walls until the wallpaper is fully set.
Add Finishing Touches
Once the wallpaper is dry, consider adding any finishing touches, such as baseboards or trim. These elements can enhance the overall look of the room and create a polished appearance.
Monitor the Installation
Keep an eye on the wallpaper over the next few weeks. Check for any bubbling, peeling, or other issues that may arise. If you notice any problems, address them promptly to ensure the longevity of the installation.
Maintaining Your Wallpaper
Proper maintenance will help extend the life of your wallpaper and keep it looking fresh and vibrant.
Regular Cleaning
Dust and dirt can accumulate on wallpaper over time. Regularly wipe down the surface with a damp cloth to keep it clean. For stubborn stains, use a mild soap solution, but test it on a small, inconspicuous area first to avoid damage.
Repairing Damage
If your wallpaper sustains damage, such as tears or stains, address it quickly to prevent further issues. Minor repairs can often be made with adhesive and patching techniques. For significant damage, you may need to replace the affected strip.
Conclusion
Fixing wallpaper may seem like a daunting task, but with proper preparation and attention to detail, it can be a rewarding DIY project. By following the outlined steps for wallpaper fixing, you can transform any space and enhance its aesthetic appeal.
Ongoing maintenance and care are crucial for ensuring the longevity of your wallpaper. Regular cleaning and prompt repairs will help maintain its appearance and functionality. Whether you are redecorating a single room or an entire home, wallpaper can add character and warmth to your living spaces.
With a little patience and the right techniques, you can achieve a beautiful and professional-looking wallpaper installation that enhances your environment for years to come.
For More Isightful Articles Related To This Topic, Feel Free To Visit: empireadda