
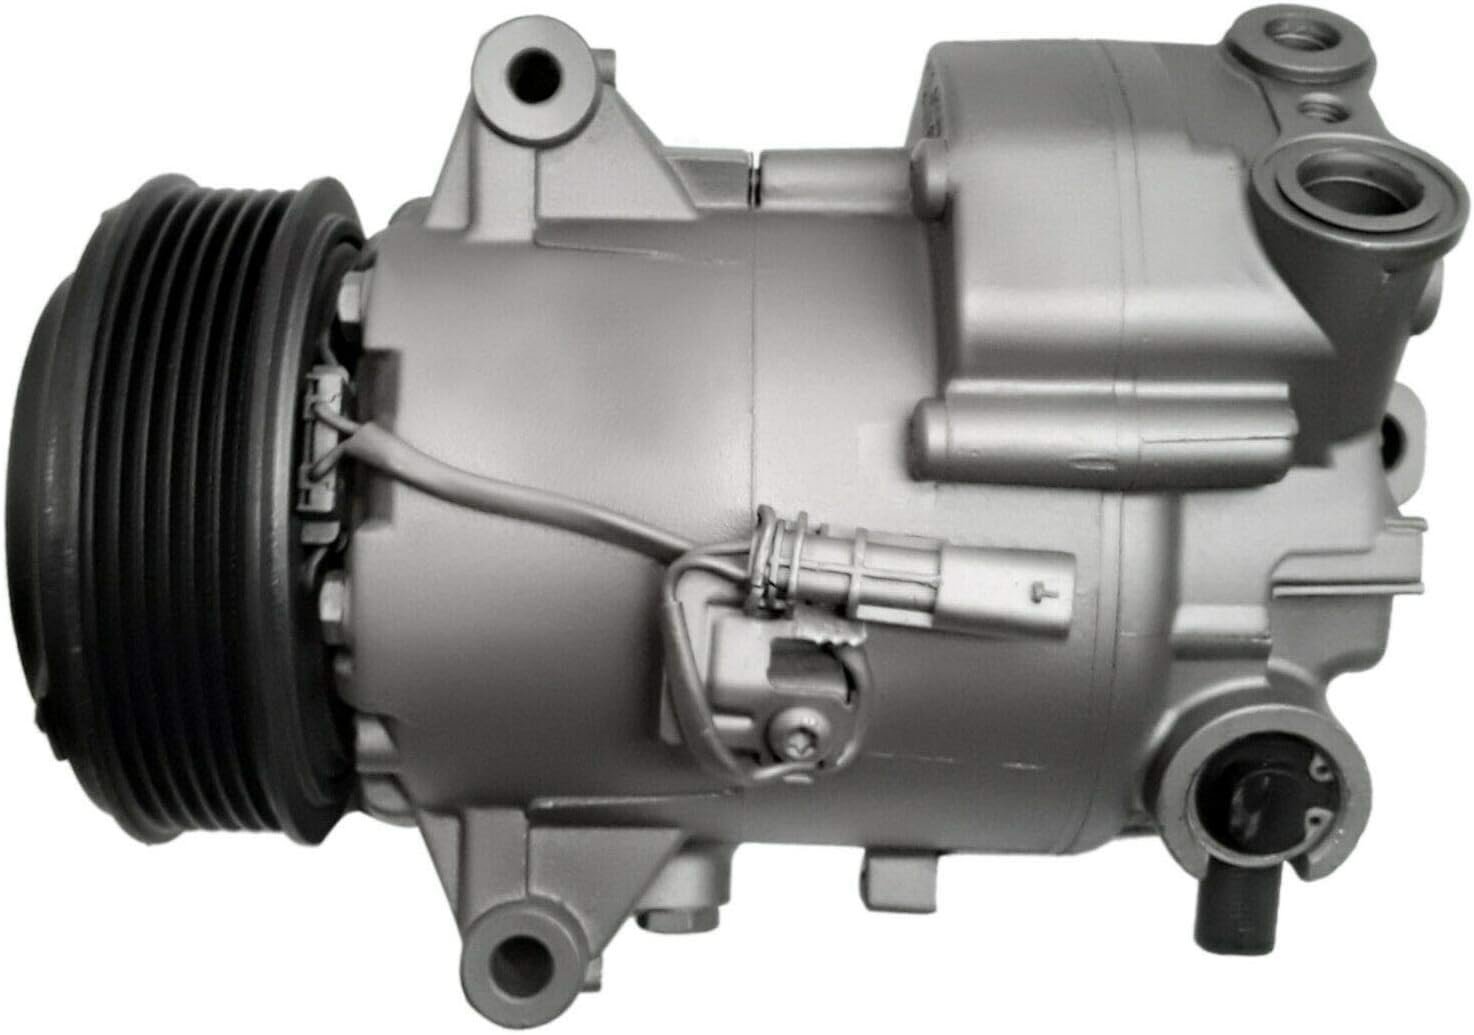
The starter motor in a VE Commodore is essential for initiating the engine’s operation. It converts electrical energy from the vehicle’s battery into mechanical energy, enabling the engine to start. Ve commodore starter motor replacement is a key part of the ignition system, engaging the engine’s flywheel to set the internal combustion process in motion. Regularly monitoring the starter motor’s condition is advisable, as early detection can prevent more significant problems. Familiarity with the function and maintenance of the starter motor can lead to efficient and cost-effective vehicle care.
Indications of a Malfunctioning Starter Motor
A malfunctioning starter motor can manifest through several noticeable symptoms. One common indication is a clicking noise when attempting to start the vehicle, suggesting insufficient power reaches the motor.
Another sign is the engine failing to crank or experiencing difficulty turning over, which may indicate internal issues within the starter motor. Additionally, intermittent starting problems, where the vehicle begins inconsistently, can signal a deteriorating starter motor. If the vehicle’s lights dim significantly when the ignition key is turned, it may also point to starter motor issues.
Attention to these symptoms is essential to maintain vehicle reliability and prevent more extensive damage. Regular checks can help identify these problems early, ensuring timely intervention.
Essential Tools for Starter Motor for Ve Commodore Replacement
Several tools are necessary to ensure a smooth process when replacing the starter motor for ve commodore. A socket set of various sizes will be required to unbolt the motor and any surrounding components.
A ratchet, extension bar, and torque wrench are essential for securing bolts to the correct tension. Protective gear, such as gloves and safety glasses, is crucial to prevent injuries. Additional tools like screwdrivers and pliers may be needed to disconnect electrical connections and other small parts. Ensuring all these tools are readily available before starting the replacement will facilitate a more efficient and safe operation.
Vehicle Preparation for Replacement
Properly preparing the vehicle is crucial for a smooth replacement process. Start by parking the car on a stable and level surface to ensure safety. Next, disconnect the battery to prevent any electrical hazards. Letting the engine cool down completely is advisable to avoid burns or injuries.
Raise the vehicle using a jack and secure it with jack stands for easier access to the starter motor. Additionally, gather all necessary tools and keep them within reach to streamline the workflow. Ensuring a clean and organized workspace will minimize the risk of misplaced parts or tools, aiding in a more efficient replacement process.
Detaching the Existing: Holden Ve Starter Motor
Begin by locating the Holden ve starter motor and removing any obstructive components to access it fully.
Electrical Connections
Carefully disconnect the electrical connections, ensuring not to damage any wires or connectors.
Engine Block
Proceed to unbolt the starter motor from the engine block, supporting its weight throughout the process to prevent strain on surrounding components. Utilise the appropriate tools to avoid stripping bolts or damaging adjacent parts.
Manufacturer’s Guidelines
Follow the manufacturer’s guidelines to ensure the proper order of disassembly and handle each part with caution to maintain the system’s integrity.
Mounting Area
Once the motor is detached, inspect the mounting area for any signs of wear or damage that may need addressing before installing the new starter motor. Ensure all removed components are stored safely for reassembly.
Selecting the Appropriate Replacement Starter Motor
Compatibility and quality must be considered when selecting a replacement starter motor for a VE Commodore. Opting for an Original Equipment Manufacturer (OEM) part is typically the best choice, as these components are designed to meet the vehicle’s specific requirements.
While aftermarket options may be less expensive, they often vary in quality and may not offer the same level of performance or longevity as OEM parts. Ensure the replacement starter motor matches the vehicle’s specifications, including the engine type and electrical system. Consulting the vehicle’s manual or a professional mechanic can provide additional guidance on the most suitable options.
Proper Installation of the Commodore Starter Motor
When installing the new commodore starter motor, ensure it is positioned correctly within the engine compartment. Secure the motor using the appropriate bolts, adhering to the manufacturer’s torque specifications to prevent over-tightening or under-tightening.
Reconnect the electrical connections precisely, ensuring they are firmly attached and free from corrosion or debris. Inspecting the wiring for any signs of wear or damage and replacing any compromised components is crucial. Follow the manufacturer’s instructions closely, as incorrect installation can lead to performance issues or potential harm.
Maintaining a clean and organized workspace can facilitate a more efficient installation process and reduce the likelihood of errors. Once installed, conduct a thorough check to confirm that all bolts and connections are secure before proceeding to the testing phase.
Verifying the New Starter Motor Installation
After fitting the new starter motor, testing its operation is essential to ensure proper installation. Begin by turning the ignition key and listening for unusual noises, such as grinding or clicking, which may indicate misalignment or loose connections.
Observing the dashboard for any illuminated warning lights can also help identify potential issues. It is advisable to start the vehicle several times to confirm consistent performance.
Additionally, checking that the engine cranks smoothly without hesitation is a good indicator of successful installation. Inspecting the newly installed motor and surrounding components for any signs of wear or improper fitting can further validate the procedure.
Addressing Common Replacement Issues
During the replacement process, several challenges may emerge, including misalignment of components or issues with electrical connections.
- To tackle misalignment, verify that all parts fit precisely according to the manufacturer’s guidelines.
- Double-check bolt placements and torque specifications to ensure everything is adequately secured.
- Electrical connection problems can often be traced to loose or corroded terminals.
- Ensure all connectors are clean and firmly attached, and replace any damaged wiring.
- If the vehicle exhibits persistent starting issues, review each installation step to identify potential oversights.
- When troubleshooting proves insufficient, consulting a professional mechanic can provide valuable insights and prevent further complications.
Maintenance Tips for Longevity
Regular upkeep of the starter motor is essential to ensure its prolonged functionality. Conduct periodic inspections of the electrical connections, checking for any signs of corrosion or looseness.
Cleaning the terminals with a wire brush and applying a protective spray can prevent oxidation. Additionally, ensure the battery is in good condition, as a weak battery can strain the starter motor. Monitoring the starter motor’s performance can help identify early signs of wear, allowing for timely intervention.
Avoiding excessive idling and limiting the use of electrical accessories when the engine is off can also reduce strain on the starter motor. Regularly servicing the vehicle according to the manufacturer’s recommendations will further support the starter motor’s longevity.
Intermittent Starting Issues: Ve Commodore Starter Motor
Replacing the Ve Commodore Starter Motor demands meticulous attention to detail and adherence to proper guidelines.
Unusual Noises
Recognising symptoms of a failing starter motor, such as unusual noises or intermittent starting issues, is crucial for timely intervention.
Right Tools
Equipped with the right tools and ensuring thorough vehicle preparation can significantly streamline the replacement process, enhancing efficiency and safety.
Careful Detachment
Careful detachment of the existing starter motor, including proper disconnection of electrical connections and securing of bolts, sets the stage for a successful replacement.
Compatible Replacement
Selecting a high-quality, compatible replacement part is vital, with a preference for OEM components to ensure longevity and optimal performance.
Bolt Torquing
Proper installation techniques, including accurate bolt torquing and secure electrical connections, are fundamental to avoid future complications.
Cost Analysis of Replacement
The cost of replacing the starter motor in a VE Commodore can vary significantly based on several factors. For those opting for a DIY approach, the expenses are typically limited to the price of the starter motor itself and any necessary tools.
Original Equipment Manufacturer (OEM) starter motors usually cost more than aftermarket options but offer superior quality and longevity. In contrast, seeking professional assistance can be more expensive due to labor charges, but it ensures expertise and often includes warranty coverage for parts and labor.
Additionally, the complexity of the replacement process might incur extra costs if specialized tools or additional parts are required. When budgeting for this repair, it is crucial to factor in the immediate and potential long-term costs associated with choosing DIY and professional services.
Electrical Connection Problems
Verification of the new starter motor performance through comprehensive testing, such as checking for consistent starting and absence of unusual sounds, confirms the efficacy of the installation. Addressing common issues that may arise during replacement, like component misalignment or electrical connection problems, ensures the motor operates reliably.
Regular maintenance practices, such as inspecting electrical connections and ensuring battery health, can extend the starter motor’s lifespan and improve vehicle reliability. Considering the cost implications of replacement, including the decision between a DIY approach and professional services, allows for an informed and cost-effective resolution.
Conclusion
Understanding and executing each step of the ve commodore starter motor replacement with precision can prevent further vehicle issues and ensure sustained performance. Professional expertise remains a viable and often beneficial option for those lacking confidence in performing this task independently.
FAQs
Why should I replace the starter motor in my VE Commodore?
Replacing the starter motor is essential for ensuring reliable engine starts. A failing starter motor can lead to intermittent starting issues or leave you stranded. Upgrading to a new starter motor ensures that your VE Commodore starts consistently and smoothly, enhancing overall vehicle reliability and performance.
What are the signs that my VE Commodore’s starter motor needs to be replaced?
Common signs include the engine not starting or starting intermittently, a clicking noise when turning the key, slow cranking, or the starter motor running without engaging the engine. If you notice any of these symptoms, it’s essential to have your starter motor inspected and replaced to avoid further issues.
How can I save time and money during the star ve commodore starter motor replacement?
To save time and money, purchase a high-quality ve commodore starter motor replacement from a reputable source to ensure durability and reliability. Follow a detailed guide or consult a professional mechanic for accurate installation instructions. Additionally, disconnect the battery before starting the replacement to prevent electrical shocks. If you have the necessary tools and skills, replacing yourself can save on labor costs.

