
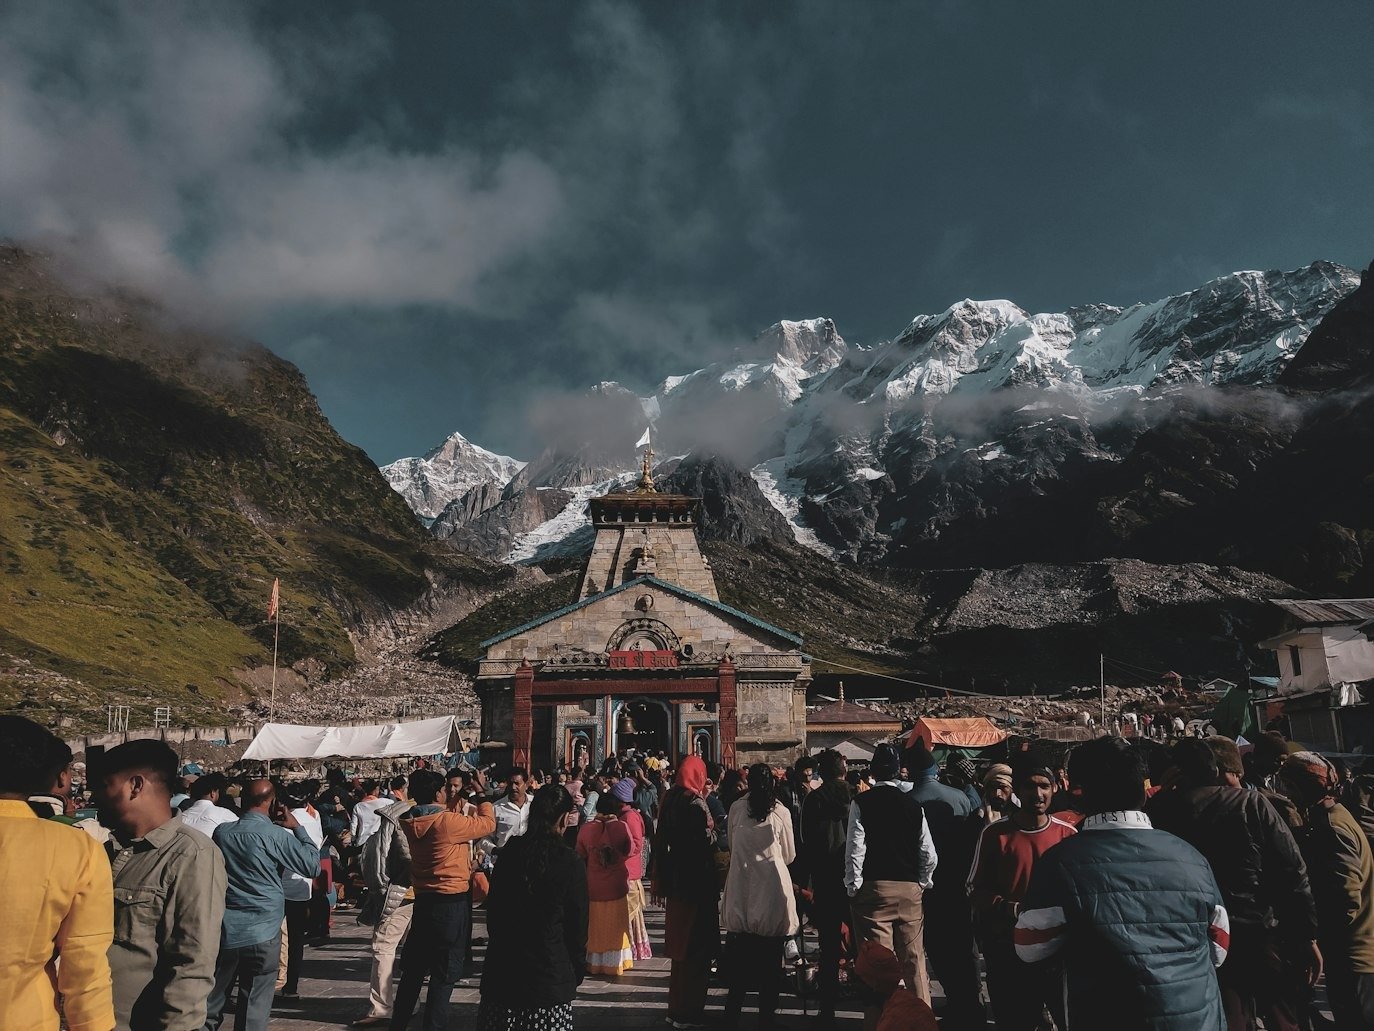
Embarking on the Kedarnath Yatra is not just a journey; it’s an adventure steeped in spirituality and breathtaking landscapes. Having made this pilgrimage myself, I can assure you that the experience is unforgettable. However, proper preparation is vital to make the most of your trip. Here are the top 10 packing essentials I recommend for a successful Kedarnath Yatra.
1. Comfortable Footwear: My Lifesaver
When I first set out for Kedarnath, I quickly learned that the right shoes can make or break your trek. I opted for sturdy, waterproof hiking boots with excellent ankle support. Trust me, these boots were my lifeline as I navigated the rocky trails. Every step felt secure, allowing me to focus on the stunning scenery rather than my aching feet.
The Importance of Fit
It’s not just about choosing the right style; it’s essential to find a pair that fits well. I spent a few weeks breaking them in before the trip, which saved me from those pesky blisters that can derail your adventure. It’s advisable to wear the socks you plan to use during the trek while trying on your boots to ensure a proper fit. If possible, visit a specialized store where knowledgeable staff can help you find the perfect pair for your foot type.
Extra Tip: Don’t Forget Sandals!
After a long day of trekking, I loved slipping into my comfortable sandals at the guesthouse. They’re perfect for letting your feet breathe after hours on the trail, and they make walking around the accommodation feel like a breeze. Having an alternative footwear option also reduces the risk of blisters since you can switch out of your hiking boots and allow your feet some recovery time.
2. Weather-Appropriate Clothing: Layer Like a Pro
The weather in Kedarnath can be a rollercoaster ride! I packed layers—starting with moisture-wicking base layers to keep me dry, then an insulating fleece, and topped it off with a waterproof jacket. This combo kept me comfortable through rain, wind, and sunshine. The key is to adapt your clothing to the changing weather conditions, so you’re prepared for anything.
Choosing the Right Fabrics
I learned that not all fabrics are created equal. Synthetic materials dry quickly and wick moisture away from your skin, while cotton can become heavy and damp. Quick-dry trekking pants and thermal tops became my best friends on this trip. I also found that wearing a lightweight, breathable shirt as a base layer allowed for better air circulation, helping me stay cool during the day while retaining warmth at night.
Must-Have Clothing Items:
- Thermal tops and bottoms
- Lightweight, breathable shirts
- Waterproof jacket
- Quick-dry trekking pants
- A warm beanie and gloves
It was far more comfortable to pack a beanie and a pair of lightweight gloves, especially on chilly mornings or evenings. These things won’t take up much room in your suitcase because they’re simple to compact.
3. Trekking Poles: My Trusty Companions
I can’t stress enough how helpful trekking poles were during my hike. They provided stability on steep paths and took some weight off my knees. I felt more confident and comfortable taking on the challenging portions of the course with each stride. They also helped me maintain my balance while crossing streams and uneven terrain, giving me the confidence to tackle more challenging sections of the trek. Trust The Searching Souls to handle all logistics for your Kedarnath Yatra, so you can immerse yourself fully in this sacred experience.
Choosing the Right Poles:
Look for lightweight, adjustable poles that offer shock absorption. They’ll be worth their weight in gold when you’re tackling those challenging ascents! I opted for collapsible poles, which made storage easy when I didn’t need them. This way, I didn’t have to worry about them being cumbersome.
How to Use Trekking Poles Effectively
I found that using poles is not just about support but also about rhythm. They helped me maintain a steady pace, and I could rely on them during tricky descents, making the overall trek feel less strenuous. I also learned to alternate my pole movement with my steps, allowing for a natural walking motion that conserved energy.
4. Water Bottle or Hydration Pack: Stay Hydrated!
Staying hydrated is crucial, especially at high altitudes. I brought along a durable, insulated water bottle, which kept my water cool even during the hot parts of the day. You could also opt for a hydration pack—easy to sip from while you’re on the go! I found that having quick access to water made a huge difference in my overall energy and endurance levels.
Water Purification Tip:
I made sure to pack purification tablets just in case I needed to refill my water from natural sources. Better safe than sorry! It’s critical to stay well-hydrated because dehydration can strike without warning, particularly during physically demanding activity.
Electrolytes Matter
In addition to regular water, I included electrolyte tablets to replenish essential minerals. They made a noticeable difference in my energy levels during long treks. When I felt fatigue setting in, sipping on electrolyte-enhanced water gave me a refreshing boost that kept me going strong.
5. First Aid Pack: Always Be Ready for Anything
A first aid kit is non-negotiable. I included adhesive bandages, antiseptic wipes, and pain relievers in mine. There’s nothing worse than being out on the trail and feeling under the weather. A few extra supplies can make a huge difference! I also added blister pads after experiencing a nasty blister on a previous hike, and they were a game-changer.
Personal Medications:
Don’t forget your regular medications! I brought extras, just in case I faced any delays. Additionally, I included a few items specific to high-altitude hiking, like altitude sickness tablets, to be extra cautious. I made a checklist of everything I needed, ensuring I didn’t leave anything behind.
When to Use Your First Aid Kit
I found that a little first aid knowledge can go a long way. Learning how to treat blisters or minor injuries helped me feel more prepared and confident on the trail. It’s also wise to familiarize yourself with basic first aid techniques, like how to clean and bandage a wound, as these skills can come in handy when you least expect it.
6. Snacks and Energy Bars: Fuel for the Journey
When you’re trekking for hours, energy can wane quickly. I always packed high-energy snacks like trail mix, protein bars, and dried fruits. They kept me fueled and focused on the stunning views rather than my growling stomach. I discovered that small, frequent snacks were far more effective than waiting for a big meal.
The Importance of Balanced Nutrition
I discovered that combining protein, fats, and carbohydrates in my snacks helped me maintain my energy levels. Peanut butter packets and energy gels were great additions for quick boosts! I also found that dark chocolate made for a delicious morale booster during long stretches of the hike.
Hydration Boost:
Electrolyte tablets were also a game-changer. I added them to my water to replenish those essential minerals after a long day of hiking. Staying hydrated with electrolytes helped me feel revitalized and ready for the next challenge.
7. Sun Protection Gear: Shield Yourself from the Sun
The high altitude can really amplify UV rays, so sun protection was a must for me. I made sure to wear UV-blocking sunglasses, a wide-brimmed hat, and lots of sunscreen. You don’t want to end up with a sunburn on this adventure! I learned to reapply sunscreen every couple of hours, especially on exposed areas like my nose and cheeks.
Layering Protection:
I also packed lightweight, long-sleeved shirts that provided extra coverage without overheating. It’s amazing how much sun exposure you can get, even on cloudy days! Using UV-protective clothing was another layer of defense that made me feel safer during the hike.
Lips and Skin Care:
I brought moisturizer and lip balm to counteract the drying effects of the wind and sun. Keeping my skin hydrated made the experience much more enjoyable! A little bit of care went a long way in ensuring that I returned home without the dreaded sunburn.
8. Personal Hygiene Items: Comfort Matters
While trekking in the wilderness, it’s easy to overlook personal hygiene, but I made sure to pack biodegradable wet wipes, hand sanitizer, and toilet paper. These little comforts go a long way after a long day on the trail. I found that having these essentials made it easier to refresh myself at the end of a long day.
Choosing Eco-Friendly Products:
I opted for biodegradable wipes and soaps to minimize my environmental impact. It felt good knowing I was keeping the beautiful landscapes pristine. Using eco-friendly products allowed me to clean up without worrying about harming the environment.
Travel-sized Toiletries:
Travel-sized essentials like toothbrush and toothpaste were also a must for me. Keeping fresh helps you feel revitalized and ready for the next day’s adventure! I also included a small towel, which came in handy for quick washes and drying off after rain showers.
9. Flashlight or Headlamp: Light Your Path
Navigating in low light can be tricky, so I always packed a reliable headlamp. It was a lifesaver for early morning starts or evening strolls around the accommodation. A headlamp frees up your hands, which is especially useful when you need to manage your gear or cook dinner at the campsite.
Battery Backup:
Make sure to bring extra batteries! I learned this the hard way during my first trip. Nothing worse than being left in the dark! It’s a good idea to test your headlamp before you leave, ensuring it works correctly and that you have spares on hand.
Choosing the Right Light:
I found that a headlamp with adjustable brightness settings was ideal. It allowed me to save battery life while still having enough light for my needs. Having the option to switch between bright and dim settings helped me conserve power, extending the life of my light source.
10. Backpack with Good Support: Your Trusty Gear Carrier
A comfortable backpack is essential. I chose a pack with padded straps and a hip belt, which made carrying my gear much more manageable. Organizing it efficiently was key—I kept frequently used items easily accessible. Finding a backpack that suits your body type is crucial, as it can dramatically affect your trekking experience.
Pack Organization Tips:
I used packing cubes to separate clothing, food, and toiletries. It kept everything tidy and saved me time when searching for items on the go. It’s also helpful to have a designated spot for essentials, like my first aid kit and snacks, so I wouldn’t waste time rummaging through my bag.
Weight Distribution:
I learned that packing heavier items closer to my back and lighter items towards the bottom helped with weight distribution. This little trick made carrying my pack much more comfortable. Taking the time to adjust the straps and ensure a good fit made a world of difference on long days of trekking.
Conclusion: Ready for the Adventure!
Preparing for the Kedarnath Yatra has been one of the most rewarding experiences of my life. With the right essentials in tow, you can focus on the spiritual journey and the stunning scenery around you. Remember, it’s about enjoying each step of the way, both physically and spiritually. Happy trekking!
FAQs
1. What’s the best time to visit Kedarnath?
The ideal time for the Kedarnath Yatra is between May and October when the weather is most favorable. This period generally avoids heavy rainfall and harsh winter conditions, making it easier to navigate the trails.
2. Is a sleeping bag necessary?
While many accommodations provide bedding, a sleeping bag can offer extra warmth and comfort if you decide to camp. Additionally, having your own sleeping gear can help ensure a better night’s sleep, which is crucial for your trek.
3. Are there restrictions on carrying food?
It’s best to carry non-perishable snacks, but be mindful of local regulations regarding food in the temple area. Some places may have specific guidelines to protect the environment and wildlife, so it’s good to check in advance.
4. Can I hire a porter for my luggage?
Absolutely! Hiring a porter is common and can make your trek much easier. They are often familiar with the trails and can provide valuable insights along the way.
5. How physically demanding is the Kedarnath trek?
The trek can be challenging, especially for beginners. Adequate training and preparation are key to enjoying the experience! Consider doing some practice hikes before your trip to build your stamina and confidence.
Please More Related Topics – What is the Ideal Duration for a Leh Ladakh Bike Trip?

