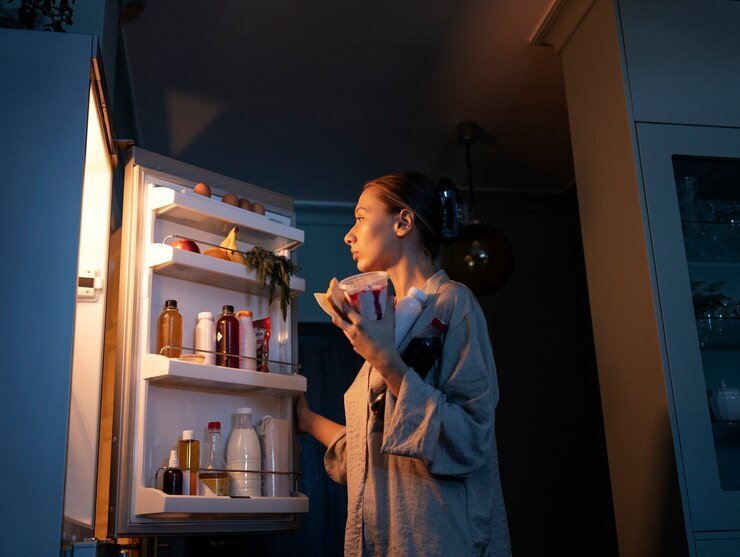
Having a well-lit refrigerator is essential for efficiently finding and accessing your food items. When the light bulb in your refrigerator burns out, it can be inconvenient and frustrating. Fortunately, replacing a refrigerator light bulb is a straightforward task that you can accomplish in just a few minutes. In this guide, we will walk you through the steps to replace a refrigerator light bulb safely and effectively.
Why Replace the Refrigerator Light Bulb?
Before diving into the steps, it’s helpful to understand why maintaining a working refrigerator light is important. A burnt-out bulb not only makes it difficult to see inside your fridge but can also lead to food spoilage if you can’t spot expired items. Regularly checking and replacing your refrigerator light bulb ensures you keep your food fresh and safe.
Step 1: Gather Your Materials
To begin, you’ll need a few simple tools and materials:
- New Light Bulb: Check your refrigerator’s manual or the old bulb for the correct wattage and size.
- Screwdriver: Depending on your refrigerator model, you may need a Phillips or flathead screwdriver.
- Gloves (optional): These can protect your hands and provide a better grip when handling the bulb.
Step 2: Unplug the Refrigerator
Before you start, safety is paramount. Unplugging the refrigerator prevents any electrical accidents while you work. If your fridge is hardwired, turn off the circuit breaker that powers it.
Step 3: Locate the Light Bulb
Most refrigerators have a light bulb located inside the fridge, typically near the top or on the side wall. To access it, you might need to remove a cover. Here’s how to do it:
- Check for a Cover: Some models have a plastic or glass cover over the light bulb. This may have clips or screws holding it in place.
- Remove the Cover: If there are screws, use your screwdriver to remove them. If it’s clipped in, gently pry it off with your fingers.
Step 4: Remove the Old Bulb
With the cover removed, you can now access the old light bulb. Follow these steps:
- Unscrew the Bulb: Grasp the bulb and twist it counterclockwise to remove it. If it’s stuck, be gentle to avoid breaking it.
- Dispose of the Old Bulb: Place the old bulb in a safe container for disposal. Some bulbs can be recycled, so check your local regulations.
Step 5: Install the New Bulb
Now that the old bulb is out, it’s time to install the new one. Here’s how to do it:
- Insert the New Bulb: Align the new bulb with the socket and twist it clockwise until it is securely in place. Be careful not to overtighten.
- Reattach the Cover: If you removed a cover, put it back in place and secure it with screws or clips.
Step 6: Plug in the Refrigerator
Once everything is reassembled, it’s time to power your refrigerator back on. Plug it in or turn on the circuit breaker.
Step 7: Test the Light
After plugging the refrigerator back in, open the door to test if the new light bulb works. If it lights up, congratulations! You’ve successfully replaced the refrigerator light bulb. If it doesn’t light up, double-check your installation and ensure that the bulb is securely in the socket.
Maintenance Tips for Your Refrigerator Light
- Regular Checks: Make it a habit to check the refrigerator light periodically. If it flickers, it may be time to replace it.
- Use LED Bulbs: Consider using LED bulbs for your refrigerator. They last longer and consume less energy than traditional incandescent bulbs.
- Avoid Touching the Bulb with Bare Hands: Oils from your skin can shorten the lifespan of the bulb. Use gloves or a cloth when handling new bulbs.
FAQs
How often should I replace my refrigerator light bulb?
The frequency of replacement depends on the bulb type and usage. LED bulbs can last up to 25,000 hours, while incandescent bulbs may only last 1,000 hours. If you notice the light dimming or flickering, it’s time to replace it.
What should I do if the new bulb doesn’t work?
If the new bulb doesn’t illuminate, check the following:
- Ensure it’s properly installed in the socket.
- Make sure the refrigerator is plugged in or that the circuit breaker is on.
- If the bulb still doesn’t work, it might be an electrical issue. In that case, consider contacting Appliance Repair Citrus Heights for assistance.
Conclusion
Now you know how to replace a refrigerator light bulb safely and effectively! This simple DIY task can save you money and ensure your fridge remains functional. If you encounter any issues or prefer professional help, don’t hesitate to reach out to an appliance repair service in your area. Remember, a well-lit refrigerator not only makes finding food easier but also helps maintain the freshness of your groceries. Happy repairing!


