
QuickBooks Enterprise 2025! If you’re a new user, you’re in for an empowering experience. This guide will take you through the essential steps to help you leverage the software’s robust features, streamline your business processes, and gain insightful financial insights. Let’s embark on this adventure together!
What is QuickBooks Enterprise?
QuickBooks Enterprise is an advanced accounting solution tailored for larger businesses and organizations. With its extensive features, it provides powerful tools for managing finances, tracking inventory, generating reports, and facilitating collaboration among multiple users. Whether you’re in retail, manufacturing, or professional services, QuickBooks Enterprise 2025 is designed to meet your unique needs and scale with your growth.
Getting Started: Installation and Setup
Step 1: Installation
Getting started with QuickBooks Enterprise involves a straightforward installation process.
- Download the Software: Visit the official QuickBooks website and purchase QuickBooks Enterprise 2025. Once purchased, download the installation file.
- Run the Installer: Locate the downloaded file and double-click to run it. Follow the prompts carefully. Choose “Custom” installation to tailor your setup.
- Select Your Preferences: Decide between single-user or multi-user mode. If you plan to collaborate with others, opt for multi-user mode.
Step 2: Company File Setup
After installation, it’s time to set up your company file:
- Open QuickBooks: Launch the software and select “Create a New Company.”
- Choose a Setup Method: You can either use the “EasyStep Interview” for a guided setup or the “Advanced Setup” for more control over details.
- Enter Company Details: Fill in your business information, including name, address, and industry type. This data is vital for reporting and compliance.
Step 3: Customize Your Preferences
To optimize QuickBooks for your business, customization is key:
- Navigate to Preferences: Click on “Edit” in the top menu, then select “Preferences.”
- Explore the Tabs: Here, you’ll find various options, including accounting, sales tax, and payroll. Adjust these settings according to your operational requirements.
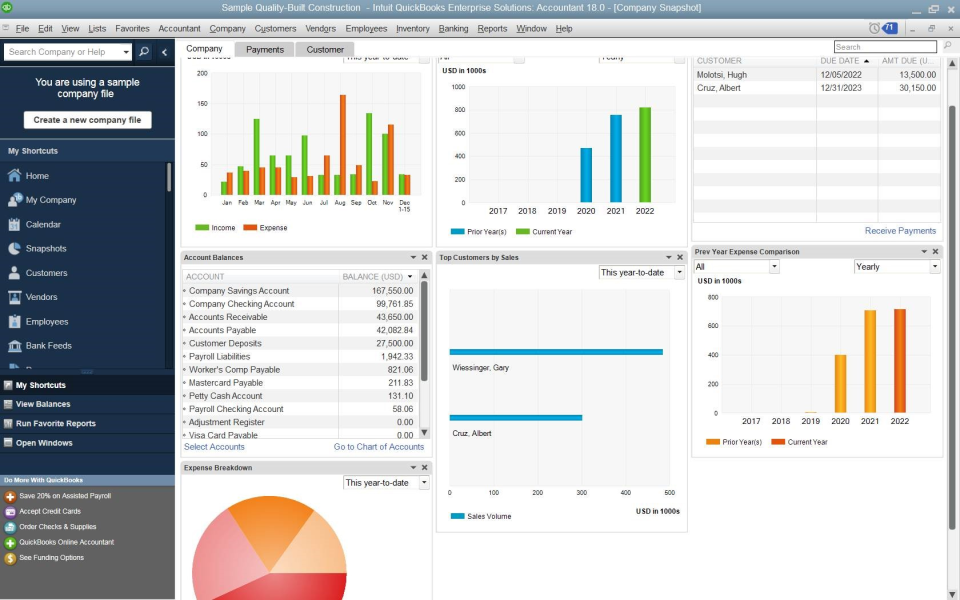
Understanding the Dashboard
Familiarity with the QuickBooks dashboard is crucial for efficiency. The dashboard is designed to be user-friendly and intuitive.
Key Sections:
- Navigation Bar: This area allows quick access to key features like Customers, Vendors, and Reports.
- Home Page: Get an overview of your financial health, including income, expenses, and profit margins.
- Alerts and Notifications: Stay informed with alerts regarding pending tasks or required actions, ensuring you never miss a beat.
Managing Customers and Vendors
Step 4: Adding Customers
Effective customer management is vital for business success. Here’s how to add customers in QuickBooks:
- Select Customers: Click on the “Customers” tab in the navigation bar.
- Add New Customer: Click on the “New Customer” button.
- Fill in Details: Enter essential information such as customer name, contact details, and payment terms. The more complete this information, the better you can manage relationships.
Step 5: Managing Vendors
Just as with customers, managing vendors is equally important:
- Select Vendors: Navigate to the “Vendors” tab.
- Add New Vendor: Click on “New Vendor.”
- Input Information: Enter details like vendor contact information and payment preferences. Keeping this information organized helps streamline purchasing and vendor payments.
Tracking Income and Expenses
Accurate tracking of income and expenses is critical for maintaining financial health.
Step 6: Creating Invoices
Creating invoices in QuickBooks is a straightforward process:
- Go to Sales: Click the “Sales” tab, then select “Invoices.”
- New Invoice: Click on the “Create Invoice” button.
- Enter Details: Add the customer name, products/services provided, and amounts due. Customizing your invoice templates enhances your brand’s visibility.
Step 7: Recording Expenses
Keeping track of expenses is essential for budgeting:
- Select Expenses: Navigate to the “Expenses” tab.
- New Expense: Click on “Record Expense.”
- Fill Out the Form: Include details such as the vendor, amount, and payment method. This organized tracking helps you understand where your money goes.
Managing Inventory
With QuickBooks Enterprise 2025, inventory management is efficient and comprehensive.
Step 8: Adding Inventory Items
To keep your inventory organized:
- Navigate to Inventory: Click the “Inventory” tab.
- New Inventory Item: Click “Add New.”
- Input Information: Enter the item name, type (inventory part or non-inventory part), cost, and sales price. Having accurate inventory data helps you avoid stockouts or overstock situations.
Step 9: Tracking Inventory Levels
Regularly monitoring inventory levels is crucial:
- Inventory Reports: Use QuickBooks to generate reports that track stock levels and sales performance.
- Adjustments: If discrepancies arise, make adjustments based on physical counts or inventory audits. Maintaining accurate inventory records prevents financial loss.
Generating Reports
Reports are vital for decision-making and strategy formulation.
Step 10: Accessing Reports
- Reports Tab: Click on the “Reports” tab on the navigation bar.
- Choose a Report Type: You can select from a variety of reports such as Profit & Loss, Balance Sheet, or Sales Reports.
- Customize Your Report: Filter the data by date range, customer, or vendor for tailored insights. Analyzing these reports helps you understand trends and make informed decisions.
Step 11: Scheduling Reports
To save time, schedule your reports:
- Select Reports: Choose the report you want to schedule.
- Schedule Options: Set the frequency (daily, weekly, monthly) and choose the recipients if you want to share automatically.
- Automate Delivery: This feature keeps you and your team informed without manual effort, enhancing your workflow.
Advanced Features of QuickBooks Enterprise
QuickBooks Enterprise 2025 offers numerous advanced features to further streamline your processes.
Step 12: User Management
In a multi-user environment, managing user access is crucial:
- Navigate to Company Settings: Click on “Company” in the menu, then “Set Up Users and Roles.”
- Add Users: Click “Add User,” and assign roles based on their job functions.
- Customize Permissions: Tailor permissions for each user to control what they can access or modify, ensuring data security.
Step 13: Advanced Inventory Management
QuickBooks offers advanced tools for inventory management:
- Advanced Inventory Settings: Use features like barcoding, serial number tracking, and multiple location tracking.
- Set Up Assemblies: If you manufacture products, you can create assembly items that combine multiple components into one finished product.
Conclusion: Embracing QuickBooks Enterprise 2025
Congratulations on starting your journey with QuickBooks Enterprise 2025! By following these steps, you’re equipped to leverage the software’s powerful features to enhance your business operations. Remember, the more you explore, the more you’ll discover how QuickBooks can work for you.
Additional Resources
As you continue your exploration, consider checking out:
- QuickBooks Tutorials: Access a wealth of video tutorials for visual guidance on specific tasks.
- Community Forums: Join QuickBooks user communities for support, tips, and best practices from experienced users.
- Customer Support: QuickBooks offers robust customer support—don’t hesitate to reach out for assistance when needed.
Embrace the excitement of mastering QuickBooks Enterprise 2025. Your business deserves the best tools for growth and success. Happy accounting

