
Let’s be real for a second: ugly URLs are such a vibe killer. You know what I mean—those long, messy links filled with numbers, symbols, and random characters. Like, why is “store.com/product-123abc?” even a thing? If you’re running a PrestaShop store, there’s a super simple fix for this: implementing PrestaShop friendly URL settings.
Trust me, switching to pretty URLs isn’t just about aesthetics (although, let’s face it, it’s a major glow-up). It’s about making your store more user-friendly and totally SEO-approved. And lucky for you, PrestaShop makes it ridiculously easy to clean up your links.
In this guide, I’ll walk you through every single step to set up pretty URLs for your store. Grab a snack, and let’s get started.
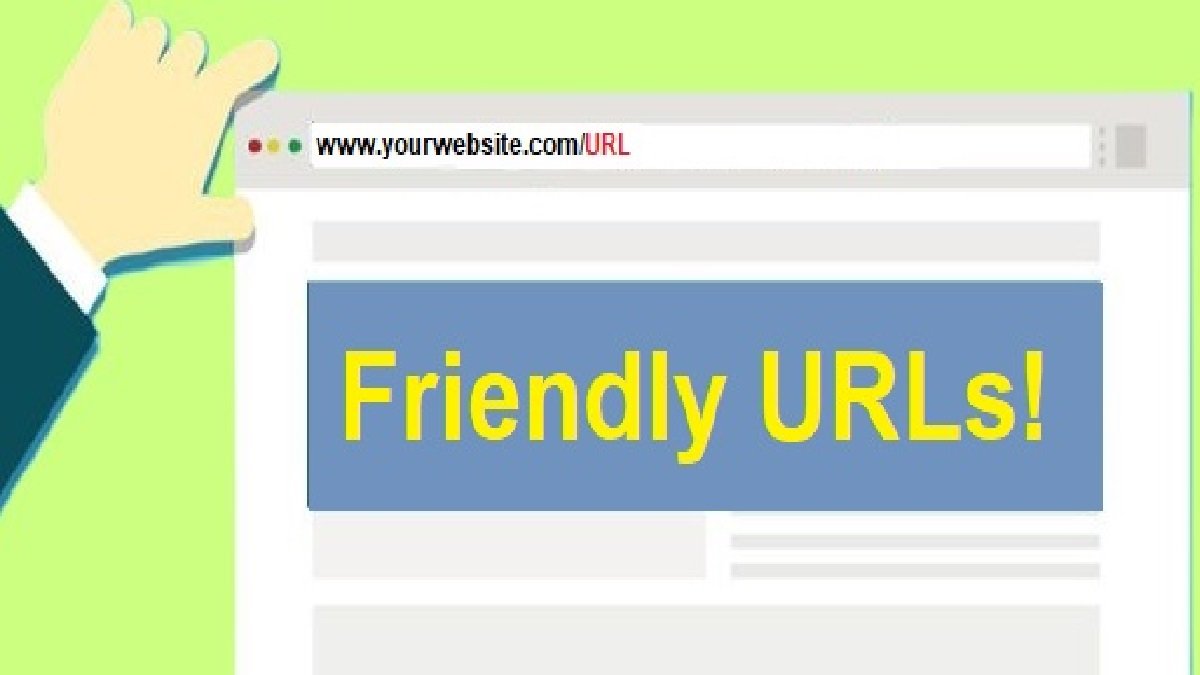
What Are Pretty URLs, Anyway?
Before we dive in, let’s quickly talk about what pretty URLs actually are. A “pretty URL” is a clean, readable web address that tells you exactly what a page is about. Think “yourstore.com/summer-dresses” instead of “yourstore.com/index.php?id_product=42&controller=product.” See the difference?
With PrestaShop friendly URL settings, you can transform those confusing links into sleek, professional ones. This not only looks better for your customers but also gets search engines like Google to take your site more seriously. Win-win, right?
Step 1: Activate Friendly URLs in PrestaShop
Okay, first up: enabling friendly URLs in your store. This is the foundation of everything we’re about to do.
- Log Into Your Back Office: Head to your PrestaShop dashboard. This is where all the backend magic happens.
- Go to the SEO & URLs Tab: Click on “Shop Parameters” and select “Traffic & SEO” from the dropdown menu.
- Enable Friendly URLs: Scroll down until you see the “Friendly URL” option. Toggle it on (it’s just a click, super easy).
- Save Your Settings: Don’t forget to hit that “Save” button at the top or bottom of the page. Boom! Friendly URLs are officially activated.
Step 2: Remove IDs from URLs
Here’s the thing—activating friendly URLs is a great first step, but by default, PrestaShop might still slap an ID number onto your links. Not cool. To go full-on pretty, you’ll want to remove those IDs.
- Install the Pretty URL Module: PrestaShop’s built-in settings won’t remove IDs completely, but the Pretty URL module can. Just search for it in the “Modules” section of your dashboard and click install.
- Configure the Module: Once installed, open the module settings. You’ll find an option to strip IDs from product, category, and CMS URLs. Select all the options (because why not?).
- Save and Test: Save your changes and then visit one of your product pages. You should see the ID-free version of your URL. Trust me, it’s a game-changer.
Step 3: Customize Your URL Structure
Now that we’ve gotten rid of the IDs, it’s time to take things to the next level by customizing your URL structure. This is where you can make your links not just pretty, but totally optimized for SEO.
- Navigate to the URL Settings: In the “SEO & URLs” section of your PrestaShop dashboard, you’ll find a section for customizing URL formats.
- Set Your Preferred Formats: For example, you can set product URLs to look like “/product-name” or category URLs to look like “/category-name/product-name.” The choice is yours, but keep it simple and descriptive.
- Add Keywords: Use relevant keywords in your URLs to help search engines understand what your pages are about. And yes, this is where that PrestaShop friendly URL magic really starts working.
Step 4: Set Up Redirects for Old URLs
Okay, so by now, you’ve got a bunch of shiny new URLs. But what happens to your old ones? If customers or search engines try to visit those outdated links, they’re going to hit a 404 error page. Not ideal. This is where redirects come in.
- Use the Redirect Tool: PrestaShop has a built-in redirect feature. Go to “Traffic & SEO” and look for the “Redirects” section.
- Set Up 301 Redirects: For each old URL, set up a 301 redirect to its new, pretty version. This tells search engines that the old page has moved permanently.
- Test Your Redirects: After setting them up, test a few old links to make sure they’re pointing to the right places.
Step 5: Test Your URLs Like a Pro
Alright, your friendly URLs are officially live, but don’t just assume everything’s perfect. It’s time to do some testing.
- Browse Your Store: Visit a few product, category, and CMS pages to make sure the URLs are showing up correctly.
- Check for Broken Links: Use tools like Screaming Frog or Google Search Console to find and fix any broken links on your site.
- Monitor SEO Performance: Keep an eye on your traffic stats in Google Analytics. If you’ve done everything right, you should start seeing an uptick in organic traffic.
Step 6: Keep It Fresh
Friendly URLs aren’t a one-and-done thing. As you add new products, categories, or pages, make sure to assign them pretty URLs right away. Staying consistent is key.
Why Pretty URLs Are Totally Worth It
Still wondering if all this effort is worth it? Here’s the deal: PrestaShop friendly URL settings can do wonders for your store. They make your site easier to navigate, improve your SEO rankings, and give your store a polished, professional vibe. Plus, customers are way more likely to click on a clean, descriptive link than some random jumble of characters. It’s just facts.
Summing it
And there you have it—a complete step-by-step guide to implementing pretty URLs in your PrestaShop store. Whether you’re a total newbie or a seasoned pro, these tips will help you take your store to the next level. So what are you waiting for? Get out there and start making those URLs pretty!
Oh, and before you go, check out our cool blog on PrestaShop product labels. It’s packed with tips on how to make your products stand out and grab attention like never before. Seriously, it’s worth a read.
Also make sure to visit: Empireadda
