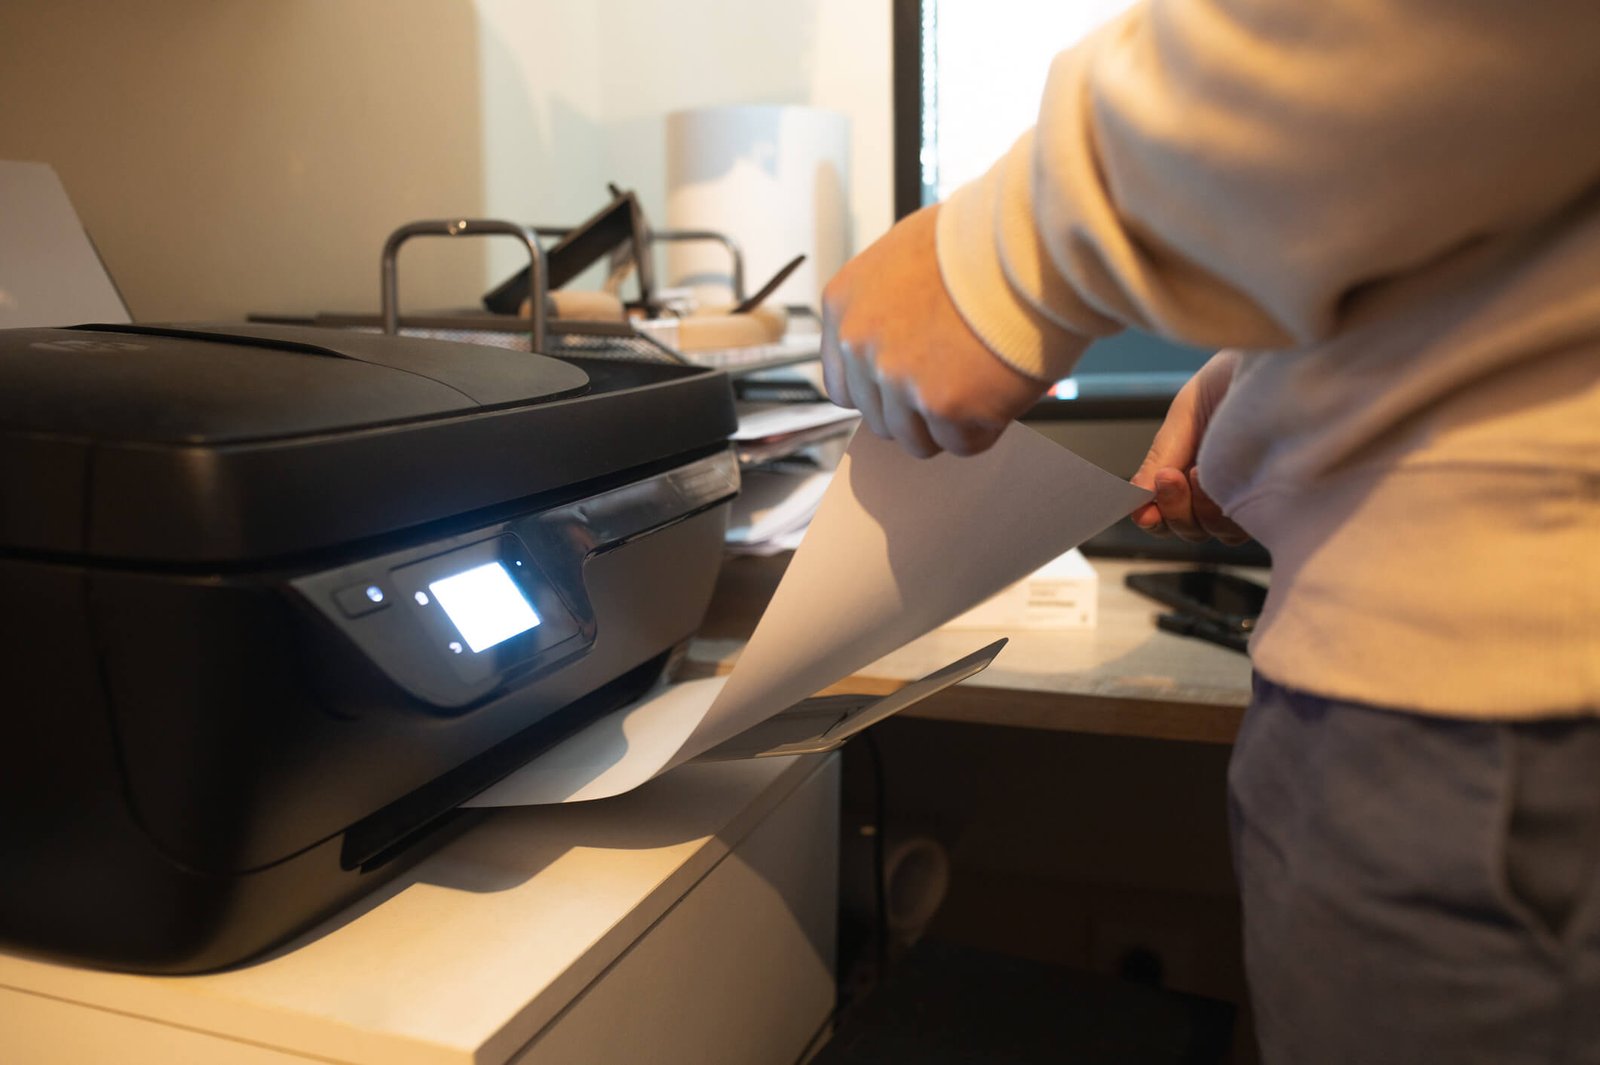
The HP Envy 6055 is a popular all-in-one printer known for its ease of use and wireless capabilities. However, when attempting to connect it to a new WiFi network, you may encounter issues. This guide offers comprehensive solutions to help you resolve the hp envy 6055 connect to wifi and get your printer back online.
Understanding the Problem
When switching to a new WiFi network, the HP Envy 6055 may fail to connect due to:
- Incorrect Network Credentials: Entering the wrong WiFi password or SSID.
- Network Configuration Issues: Router settings incompatible with the printer.
- Outdated Firmware: Printer firmware not supporting new network configurations.
- Connection Mode Problems: Printer stuck in an old network or not in setup mode.
- Interference or Range Issues: Physical obstructions or distance from the router.
Read More: hp deskjet 4155e setup
Preparing for Troubleshooting
Before diving into the solutions, ensure the following:
- Correct Network Details:
- Verify your new WiFi network name (SSID) and password.
- Check the router’s frequency (2.4 GHz is recommended for printers).
- Stable Internet Connection:
- Confirm the new WiFi network is functioning properly with other devices.
- Printer Placement:
- Place the printer close to the router, free from obstructions.
- Reset the Printer:
- Restore the printer to default settings by pressing and holding the Cancel and Wireless buttons for 5 seconds until the Wireless light starts blinking.
Step-by-Step Troubleshooting
1. Ensure the Printer is in Setup Mode
The HP Envy 6055 must be in WiFi setup mode to connect to a new network.
- Press and hold the Wireless button for 3 seconds until the Wireless light blinks.
- If the light does not blink, reset the printer and try again.
2. Use the HP Smart App
The HP Smart app simplifies connecting your printer to a new WiFi network. Here’s how:
- Download and Install HP Smart:
- Available on the Google Play Store or Apple App Store.
- For desktops, download it from the HP website.
- Add Printer:
- Open the app and tap Add Printer.
- Select your printer from the list and follow the prompts.
- Connect to the New Network:
- Enter the new network’s SSID and password in the app.
- Wait for the printer to connect and confirm with a solid Wireless light.
3. Use WiFi Protected Setup (WPS)
If your router supports WPS, this method is a quick alternative:
- Activate WPS on the Printer:
- Press and hold the Wireless button until it starts blinking.
- Enable WPS on the Router:
- Press and hold the WPS button on the router within 2 minutes.
- Wait for the Wireless light on the printer to turn solid, indicating a successful connection.
4. Configure via Embedded Web Server (EWS)
If other methods fail, you can manually set up the printer using its Embedded Web Server:
- Print Network Configuration:
- Press and hold the Information button until the printer prints a Network Configuration Page.
- Connect to Printer’s WiFi Direct:
- On your device, connect to the printer’s WiFi Direct network (SSID and password on the Configuration Page).
- Access EWS:
- Open a browser and type 192.168.223.1 in the address bar.
- Enter New WiFi Details:
- Navigate to the Network Settings tab and update the SSID and password.
5. Update Printer Firmware
Outdated firmware can cause connectivity issues. Update it as follows:
- Connect Temporarily via USB:
- Use a USB cable to connect the printer to a computer.
- Check for Updates:
- Open the HP Smart app and go to Printer Settings.
- Check for and install firmware updates.
- Reconnect to WiFi:
- Retry connecting the printer to the new network.