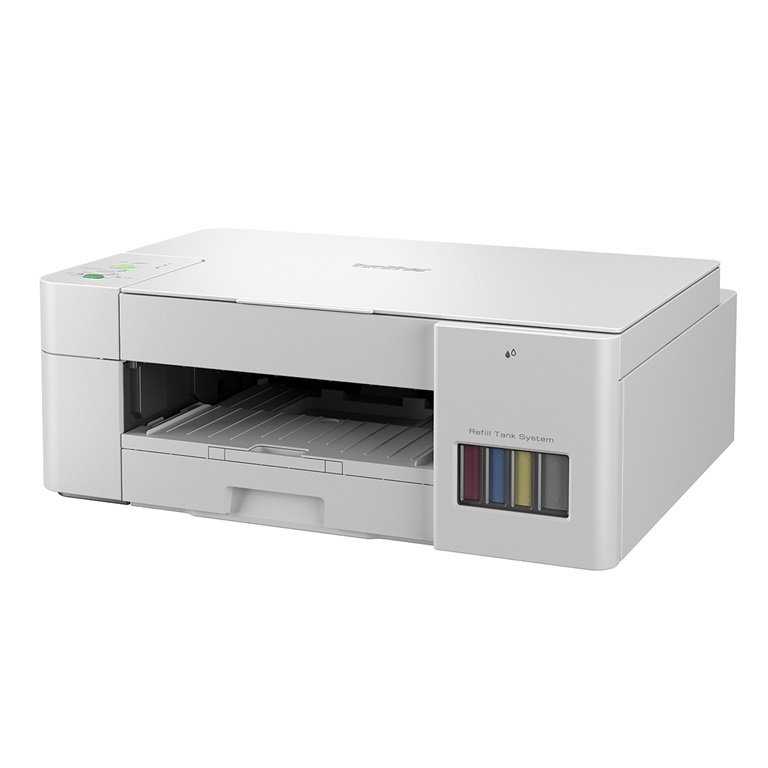
Setting up a Canon Pixma printer is an essential task whether you’re using it for personal or professional needs. Canon’s Pixma printers offer high-quality printing for photos, documents, and more, making them a popular choice for home and office use. In this article, we will walk you through the steps of how to connect to canon pixma printer, covering everything from unboxing the printer to connecting it to your computer or network for wireless printing. Whether you’ve purchased a Pixma printer for the first time or need to reconnect it, this guide will help you get started.
Step 1: Unbox Your Canon Pixma Printer
Before starting the setup process, ensure you have all the necessary components. The box should contain the following items:
- Canon Pixma printer
- Power cord
- Ink cartridges
- Setup CD (for older models)
- User manual
- Paper tray
Remove the printer from the box and carefully unpack all components. Place the printer on a stable, flat surface near your computer or router, depending on whether you plan to set it up via USB or Wi-Fi.’
Read More: how to connect hp envy 6055 to wifi
Step 2: Install the Ink Cartridges
The next step involves installing the ink cartridges that came with your Canon Pixma printer. Here’s how you do it:
- Open the printer’s ink cartridge compartment. Most Canon Pixma models have a front panel that opens up to reveal the cartridge compartment.
- Install the ink cartridges. Take the color ink cartridge (usually labeled with a ‘CL’ number) and the black ink cartridge (typically labeled with a ‘PG’ number) from the packaging. Carefully remove the protective tape from the cartridges.
- Place the cartridges in the correct slots. Insert each cartridge into its corresponding slot, with the color cartridge on the left and the black cartridge on the right. Press down firmly until you hear a click.
- Close the compartment. Once the cartridges are installed, close the panel to lock them in place.
Ensure the ink cartridges are securely installed to prevent issues later.
Step 3: Load Paper Into the Printer
Next, you’ll need to load paper into the printer’s paper tray.
- Adjust the paper guides. Pull out the paper tray and adjust the guides to match the size of the paper you’re using, typically A4 or letter size.
- Place the paper in the tray. Stack a small pile of paper neatly and place it into the tray. Be sure not to overload the tray as this can cause paper jams.
- Align the guides. Gently adjust the paper guides so they fit snugly around the edges of the paper.
Once the paper is loaded, you are ready to connect your printer to power and start the setup process.
Step 4: Power On the Printer
Plug the power cord into the printer and into a power outlet. Press the power button to turn the printer on. Most Canon Pixma printers will display a light or have a screen that shows the printer is powered on. Wait for the printer to complete its initialization process.
Step 5: Install the Canon Printer Drivers
For your Canon Pixma printer to function properly with your computer, you will need to install the appropriate drivers. This step can vary depending on whether you’re using a Windows or Mac computer. Here’s how to do it for both:
For Windows:
- Insert the setup CD (if available) into your computer’s CD drive, or visit the Canon website to download the latest drivers for your printer model.
- Run the installer. Open the file and follow the on-screen instructions to begin the installation process.
- Choose your connection type. During the installation, you’ll be asked how you want to connect the printer. Select between USB or wireless (Wi-Fi) connection.
- Follow the prompts. The installer will guide you through the rest of the setup. It may ask you to connect the printer via USB cable if you haven’t already chosen a wireless setup.
For Mac:
- Download the drivers from the Canon website or use the setup CD.
- Run the installer. Double-click on the installer file and follow the on-screen instructions.
- Choose your connection method. Similar to the Windows process, select USB or wireless connection as the setup method.
Once the drivers are installed, the system will usually detect the printer and offer to print a test page.
Step 6: Connect the Printer to Wi-Fi (for Wireless Printing)
If you’re setting up the printer for wireless printing, the following steps will help you connect it to your Wi-Fi network:
- Access the printer’s menu. Using the printer’s display screen or control panel, navigate to the “Settings” or “Wireless Setup” option.
- Select Wi-Fi setup. This option will prompt the printer to search for available networks.
- Select your network. Choose your Wi-Fi network from the list of available networks.
- Enter the Wi-Fi password. Use the printer’s display screen and keypad to input your Wi-Fi password. Double-check the password to ensure accuracy.
- Connect the printer. After entering the correct password, the printer should connect to your Wi-Fi network. Wait for confirmation on the screen.
Once connected, your printer will be ready to print wirelessly from any computer or mobile device on the same network.
Step 7: Add the Printer to Your Computer (For Wireless and USB Connections)
For Wireless Connection:
After connecting your Canon Pixma printer to the Wi-Fi network, you’ll need to add it to your computer.
- Windows:
- Open “Control Panel” and click “Devices and Printers.”
- Click “Add a printer” and wait for Windows to detect the printer.
- Select your Canon Pixma printer and click “Next.” Follow the on-screen instructions to complete the setup.
- Mac:
- Open “System Preferences” and click on “Printers & Scanners.”
- Click the “+” button to add a printer.
- Select your Canon Pixma printer from the list of available printers.
- Click “Add” to complete the installation.
For USB Connection:
If you opted for a USB connection during the installation, plug the USB cable into both the printer and your computer.
- Windows: Windows will automatically detect the printer and install the necessary drivers.
- Mac: The printer should be recognized by the operating system, and you can select it from “Printers & Scanners” in “System Preferences.”
Step 8: Print a Test Page
After successfully connecting your printer to your computer, it’s time to test the setup.
- On Windows:
- Go to “Devices and Printers,” right-click on your Canon Pixma printer, and select “Printer Properties.”
- Under the “General” tab, click “Print Test Page.”
- On Mac:
- Open “Printers & Scanners” in “System Preferences.”
- Select your printer and click “Open Print Queue.”
- Click “Print Test Page.”
The test page will help confirm that the printer is properly set up and communicating with your computer.
Step 9: Set Up Mobile Printing (Optional)
Canon Pixma printers support mobile printing via the Canon PRINT Inkjet/SELPHY app, which is available for iOS and Android devices. Here’s how to set it up:
- Download the Canon PRINT Inkjet/SELPHY app from the App Store or Google Play.
- Open the app and select your printer from the list of available printers.
- Follow the on-screen instructions to set up mobile printing.
Once configured, you can print directly from your smartphone or tablet, making it easy to print photos, documents, and more on the go.
Step 10: Perform Regular Maintenance
To ensure your Canon Pixma printer continues to perform optimally, it’s important to carry out regular maintenance. Here are a few tips:
- Check ink levels regularly and replace cartridges when necessary.
- Clean the printer heads if print quality starts to decline. Most Canon printers have an automatic cleaning function available in the printer settings.
- Use high-quality paper to ensure the best results and avoid paper jams.
Troubleshooting Tips
If you encounter any issues during setup, here are some troubleshooting steps:
- Wi-Fi connection problems: Ensure your Wi-Fi network is functioning properly, and the printer is within range of the router.
- Driver installation issues: If the drivers aren’t installing correctly, try downloading the latest version from the Canon website.
- Paper jams: Check the paper tray for any obstructions and ensure the paper is loaded correctly.
Conclusion
Setting up your Canon Pixma printer is a straightforward process that involves unpacking the printer, installing ink cartridges, connecting it to your network or computer, and installing the necessary drivers. Once the setup is complete, you’ll be ready to enjoy high-quality printing for your documents and photos. Don’t forget to regularly maintain your printer to keep it running smoothly. Happy printing!