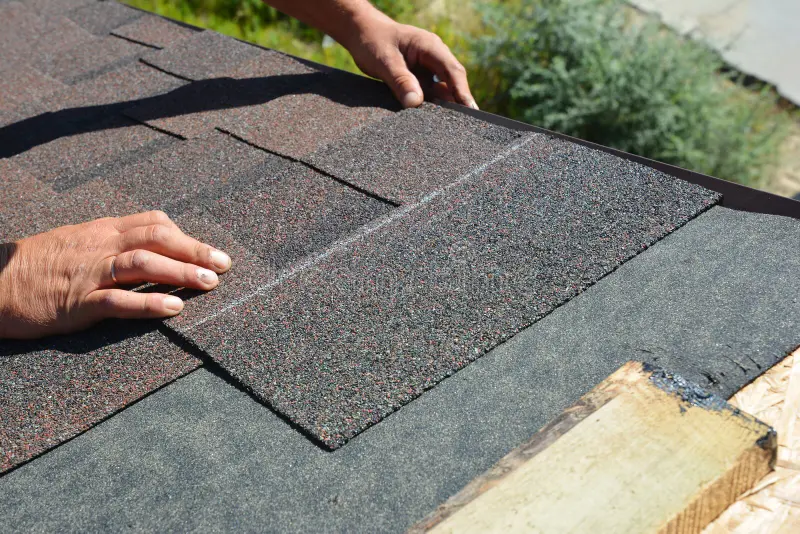
Replacing the shingles on your roof is an essential home improvement project that can protect your property for years to come. However, it’s important to understand that the process involves careful planning and preparation. Whether you’re replacing damaged shingles or upgrading to a more durable roofing material, learning how to prepare your home for a shingle roof replacement can make the entire process smoother and more efficient.
In this guide, we’ll break down the steps you need to take before the contractors arrive, ensuring your home is ready for the new roof. With the help of professionals, like Marathon Remodel, this job can be completed with minimal disruption to your daily routine.
Step 1: Clear the Area Around Your Home
Before the roofing contractors arrive, the first thing you need to do is clear the area around your home. Roofing projects can be noisy and involve heavy equipment, which could cause damage if items are left in the way. Take the time to remove any outdoor furniture, toys, or decor from the vicinity of your house, particularly under the eaves where debris may fall during the removal of the old shingles.
Additionally, park vehicles away from the house, preferably on the street, to provide contractors with ample space for their trucks and equipment. This extra space will also reduce the risk of vehicle damage from falling debris.
Step 2: Protect Your Plants and Landscaping
Shingle roof replacements can be messy. Contractors will be removing old materials, and there’s a chance that falling debris could damage your garden or landscaping. To prevent this, cover your plants with tarps or cloths. If possible, trim back any tree branches hanging over your roof to avoid them getting damaged during the replacement process.
If you’re unsure how to go about protecting your landscaping, consult with your roofing contractor. Some companies, like Marathon Remodel, offer specialized protective measures for your property during the roofing project.
Step 3: Inform Your Neighbors
A shingle roof replacement can be a loud process, and it’s considerate to let your neighbours know about the work ahead of time. Give them a heads-up so they can prepare for the noise and potential disruptions. If you live in a tight-knit community or a multi-family unit, communication can go a long way in maintaining positive relations.
This is especially important if your roof replacement is expected to take several days. You can also mention that the contractors will be working during specific hours to minimize any inconvenience.
Step 4: Prepare Your Home’s Interior
Although the roofing process occurs outside, it can still affect the inside of your home. The vibrations from hammering and other activities may cause your ceiling to shake. To avoid damaging delicate items, consider removing pictures, mirrors, and other breakable items from the walls, especially those near the roofline.
You may also want to cover any furniture or valuables near windows to prevent dust or debris from causing damage. If you’re concerned about the impact on your ceiling or attic space, talk to the contractors in advance to see if additional protective measures are necessary.
Step 5: Ensure Safe Access for Contractors
Your roofing contractor will need access to your home, including the attic and any areas where they may need to inspect the roof structure. Ensure these access points are clear and safe. For example, if there’s an attic ladder, make sure it’s in good working order and easily accessible.
Additionally, if the contractor requires access to your electrical or plumbing systems, coordinate with them in advance to ensure everything is set up for easy access.
Step 6: Finalize the Details with Your Contractor
Before work begins, finalize all the details with your roofing contractor. Review the project timeline, payment schedule, and the exact roofing materials that will be used. If you’re unsure about any part of the process, this is the time to ask questions. Knowing how to prepare your home for a shingle roof replacement goes beyond physical preparation; it’s also about ensuring you and your contractor are on the same page.
Make sure you understand how long the project is expected to take, any contingencies, and what your responsibilities are during the process. Marathon Remodel can guide you through these details to ensure you are fully prepared.
Step 7: Secure Permits if Necessary
Depending on your location, a permit may be required to replace your roof. It’s essential to check with your local municipality to ensure all necessary permits are obtained before the project begins. Your contractor can often help with this process, but it’s important to verify this in advance to avoid delays.
FAQs About Shingle Roof Replacement
1. How long will it take to replace my roof?
The timeline for a shingle roof replacement depends on several factors, including the size of your home, the type of roofing materials, and weather conditions. On average, it can take anywhere from one to three days to replace your roof. Your contractor should provide a specific timeline based on your project.
2. Will I need to move out of my home during the roof replacement?
In most cases, you won’t need to leave your home during a shingle roof replacement, but the process can be noisy. If you have small children or pets that are sensitive to the noise, you may want to consider making alternate arrangements for the day. The work usually happens during daylight hours, so it’s important to prepare your family for the noise.
Conclusion
Understanding how to prepare your home for a shingle roof replacement will help ensure that the process goes smoothly and without unnecessary complications. By clearing the area around your home, protecting your landscaping, and coordinating with your contractor, you can set the stage for a successful roofing project. Whether you’re working with a trusted local contractor like Marathon Remodel or another professional, taking these steps will ensure your home is well-prepared for the work ahead.


