
How to Add Jewelry to Candles: A Step-by-Step Guide
Adding jewellery to candles has become a popular trend in the crafting world. It combines the relaxing ambience of candlelight with the luxurious touch of sparkling jewels. Whether you’re looking to create a unique and memorable gift or simply want to elevate your candle collection, adding jewellery can take a simple candle to the next level.
This step-by-step guide will walk you through the process of adding jewellery to candles, from gathering materials to creating a beautiful finished product. Let’s get started!
Why Add Jewelry to Candles?
Candles and jewellery are items that people associate with warmth, luxury, and beauty. By combining these two elements, you create a truly unique piece. Adding jewellery to candles makes the candles not only visually striking but also functional and meaningful.
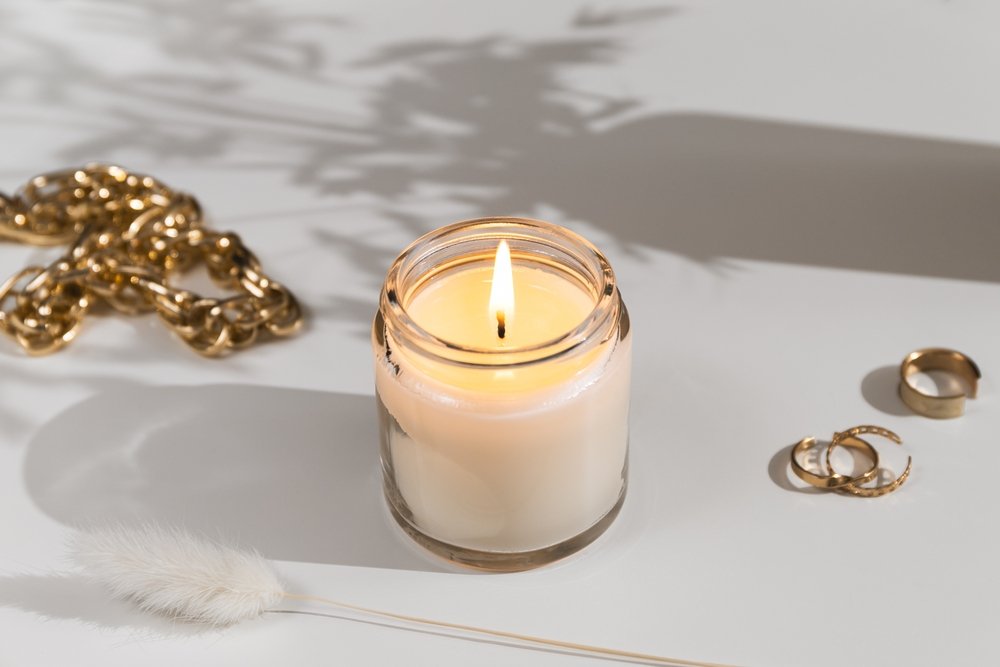
The jewellery can be hidden inside the candle, offering a delightful surprise as the wax melts, or you can attach it to the outside of the candle for an eye-catching display. This concept is perfect for various occasions, from birthdays to weddings or even as part of a DIY home decor project.
Materials You Will Need
Before diving into the process, gather all the necessary materials. Here’s a list of what you’ll need:
- Candles: You can use any candle, whether it’s a jar candle, pillar candle, or votive. For best results, opt for unscented candles since scents can sometimes interfere with the wax setting process.
- Jewellery: You can use rings, bracelets, pendants, or any other small piece of jewellery. Make sure to choose jewellery that can handle heat or is safe to submerge in wax.
- Candle Wax: You’ll need wax to create the base. You can use paraffin wax, soy wax, or beeswax depending on your preference. Soy wax is especially popular because it burns clean and has a smooth finish.
- Double Boiler or Wax Melting Pot: A double boiler is ideal for melting wax at a consistent temperature.
- Wicks: You’ll need wicks to provide the flame for your candle. You can buy pre-waxed wicks for convenience.
- Dye (Optional): If you’d like to add colour to the candle wax, choose a dye suitable for candles.
- Thermometer: To ensure the wax doesn’t overheat or cool too quickly.
- Stirring Stick or Spoon: For mixing the wax.
- Jewellery Placement Tools: Tweezers or pliers for placing and securing jewellery in the wax.
Step 1: Prepare Your Candle Container
Before adding jewellery to your candle, you need to prepare your candle container. If you’re using a jar or any other type of container, make sure it’s clean and dry.
- For jars: If you’re using glass jars, consider cleaning them with soap and warm water to remove any dust or fingerprints. You can also wipe the inside with rubbing alcohol.
- For moulds: If you plan to make candles without containers, prepare your moulds. Ensure they are free of debris and dry.
Step 2: Prepare the Jewelry
If you’re planning to hide the jewellery inside the candle, you want to make sure it’s safe for such an application. Avoid delicate or fragile pieces that may melt or tarnish when exposed to heat.
- Choose durable jewellery: Opt for metal pieces like sterling silver, gold, or stainless steel as they can handle heat better than delicate materials like plastic or gemstones.
- Size it correctly: Make sure the jewellery is small enough to fit inside the container or mould, allowing the wax to surround it comfortably.
For jewellery that will sit on the exterior of the candle, make sure it’s secured and won’t fall off once the candle is lit.
Step 3: Melt the Wax
To begin making your candle, melt the wax using a double boiler. A double boiler is the best method to avoid overheating the wax and causing it to burn or lose its integrity.
- Place your wax in the top part of the double boiler.
- Add water to the bottom pot and set the heat to low or medium.
- Stir occasionally as the wax melts. This can take some time, so be patient.
- Use the thermometer to monitor the temperature. Most waxes melt at around 170°F to 180°F (77°C to 82°C), but you want to ensure it doesn’t get too hot.
Note: If you’re adding colour to your wax, this is the time to add dye. Just follow the instructions on your dye’s packaging and make sure it’s fully dissolved in the wax before proceeding.
Step 4: Attach the Wick
If you’re working with a jar or container, you will need to secure the wick at the bottom of the container before pouring in the wax. You can do this with a wick sticker or by dipping the wick into the melted wax and sticking it to the bottom.
Allow the wick to cool and harden, ensuring it stays in place during the pouring process.
For moulds, you can use a wick holder to secure the wick at the centre of the mould.
Step 5: Add the Jewelry
Now, it’s time to add the jewellery! If you’re adding jewellery inside the candle, the process is a bit different compared to placing it outside.
Jewelry Inside the Candle
Once the wax has cooled to around 140°F (60°C) and is still liquid, carefully drop the jewellery into the wax. Use tweezers or pliers for accuracy, as the wax can be hot and difficult to handle at this stage.
- Avoid sinking: Ensure that the jewellery doesn’t sink to the bottom unless you want it to. You can hold it in place for a few moments as the wax begins to cool and solidify.
- Positioning: You can place the jewellery anywhere within the candle, but if you want it to be visible once the candle burns, ensure it’s positioned centrally or at a visible spot.
- Let it settle: The jewellery may float or shift as the wax cools, so keep an eye on it. You may need to reposition it slightly after a few minutes.
Jewelry on the Outside of the Candle
If you’re adding jewellery on the outside of the candle, this can be done after the wax has fully cooled and solidified.
- Attaching: You can use a strong adhesive like E6000 glue or hot glue to attach the jewellery. Make sure the surface of the candle is clean and dry before you apply the glue.
- Positioning: Place the jewellery where you want it on the candle. You can wrap bracelets around the candle, place rings at the base, or attach pendants to the side for a decorative look.
Step 6: Allow the Candle to Cool and Solidify
After adding the jewellery, allow the candle to cool and solidify fully. This process can take several hours, depending on the size of your candle and the type of wax used.
Step 7: Trim the Wick
Once the candle has cooled, trim the wick to about 1/4 inch above the surface of the wax. This ensures a clean and steady burn.
Step 8: Enjoy Your Beautiful Jewelry Candle!
Your candle is now ready to be enjoyed! If you’ve placed the jewellery inside the candle, light it and let the wax melt to reveal the hidden treasure. If you’ve decorated the exterior with jewellery, you have a stunning piece that’s ready to shine.
Tips for Making Jewelry Candles:
- Test Your Jewelry: Always test the jewellery you plan to use to ensure it can withstand heat without damaging or tarnishing.
- Use Soy Wax: Soy wax is easy to work with, burns clean, and holds fragrance well. It’s also ideal for embedding jewellery.
- Opt for Long-Lasting Candles: To allow enough time for the jewellery to be revealed, choose larger candles that burn for hours.
- Customize for Occasions: You can use specific jewellery to match the theme of a holiday, birthday, or wedding.
Conclusion
Adding jewellery to candles is a fun and creative way to personalize your candle-making projects. The possibilities are endless, whether you’re embedding a hidden gem or wrapping a bracelet around the outside. By following these simple steps, you can create beautiful, one-of-a-kind candles that are perfect for gifting or as a unique addition to your collection.

